Create your post
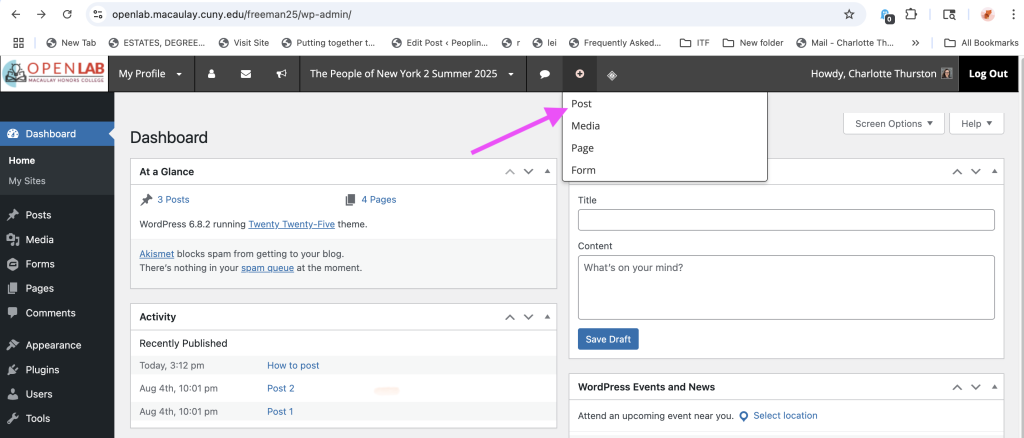
In the dashboard, from the menu at the top, click “+” and click “Post”
Write your post
In the “Add New Post” screen, you write the post you want to create. Enter the appropriate title and any text you want in the post. You can add images by clicking the plus sign in the top-left corner and selecting the “image” block. From here, you can upload images from your device. You can also embed media, create image galleries, etc, through the various blocks listed on the right. Feel free to explore.
Publish!
When your post is ready, click “Publish.”
Add a Featured Image On the right hand side, under “Post,” select “Set Featured image” and upload/choose an image
Choose Your Category
Before publishing your post, make sure you choose the right category or categories for it. Look for the categories on the right hand side, under “Post.”
Add Alt-Text to Images
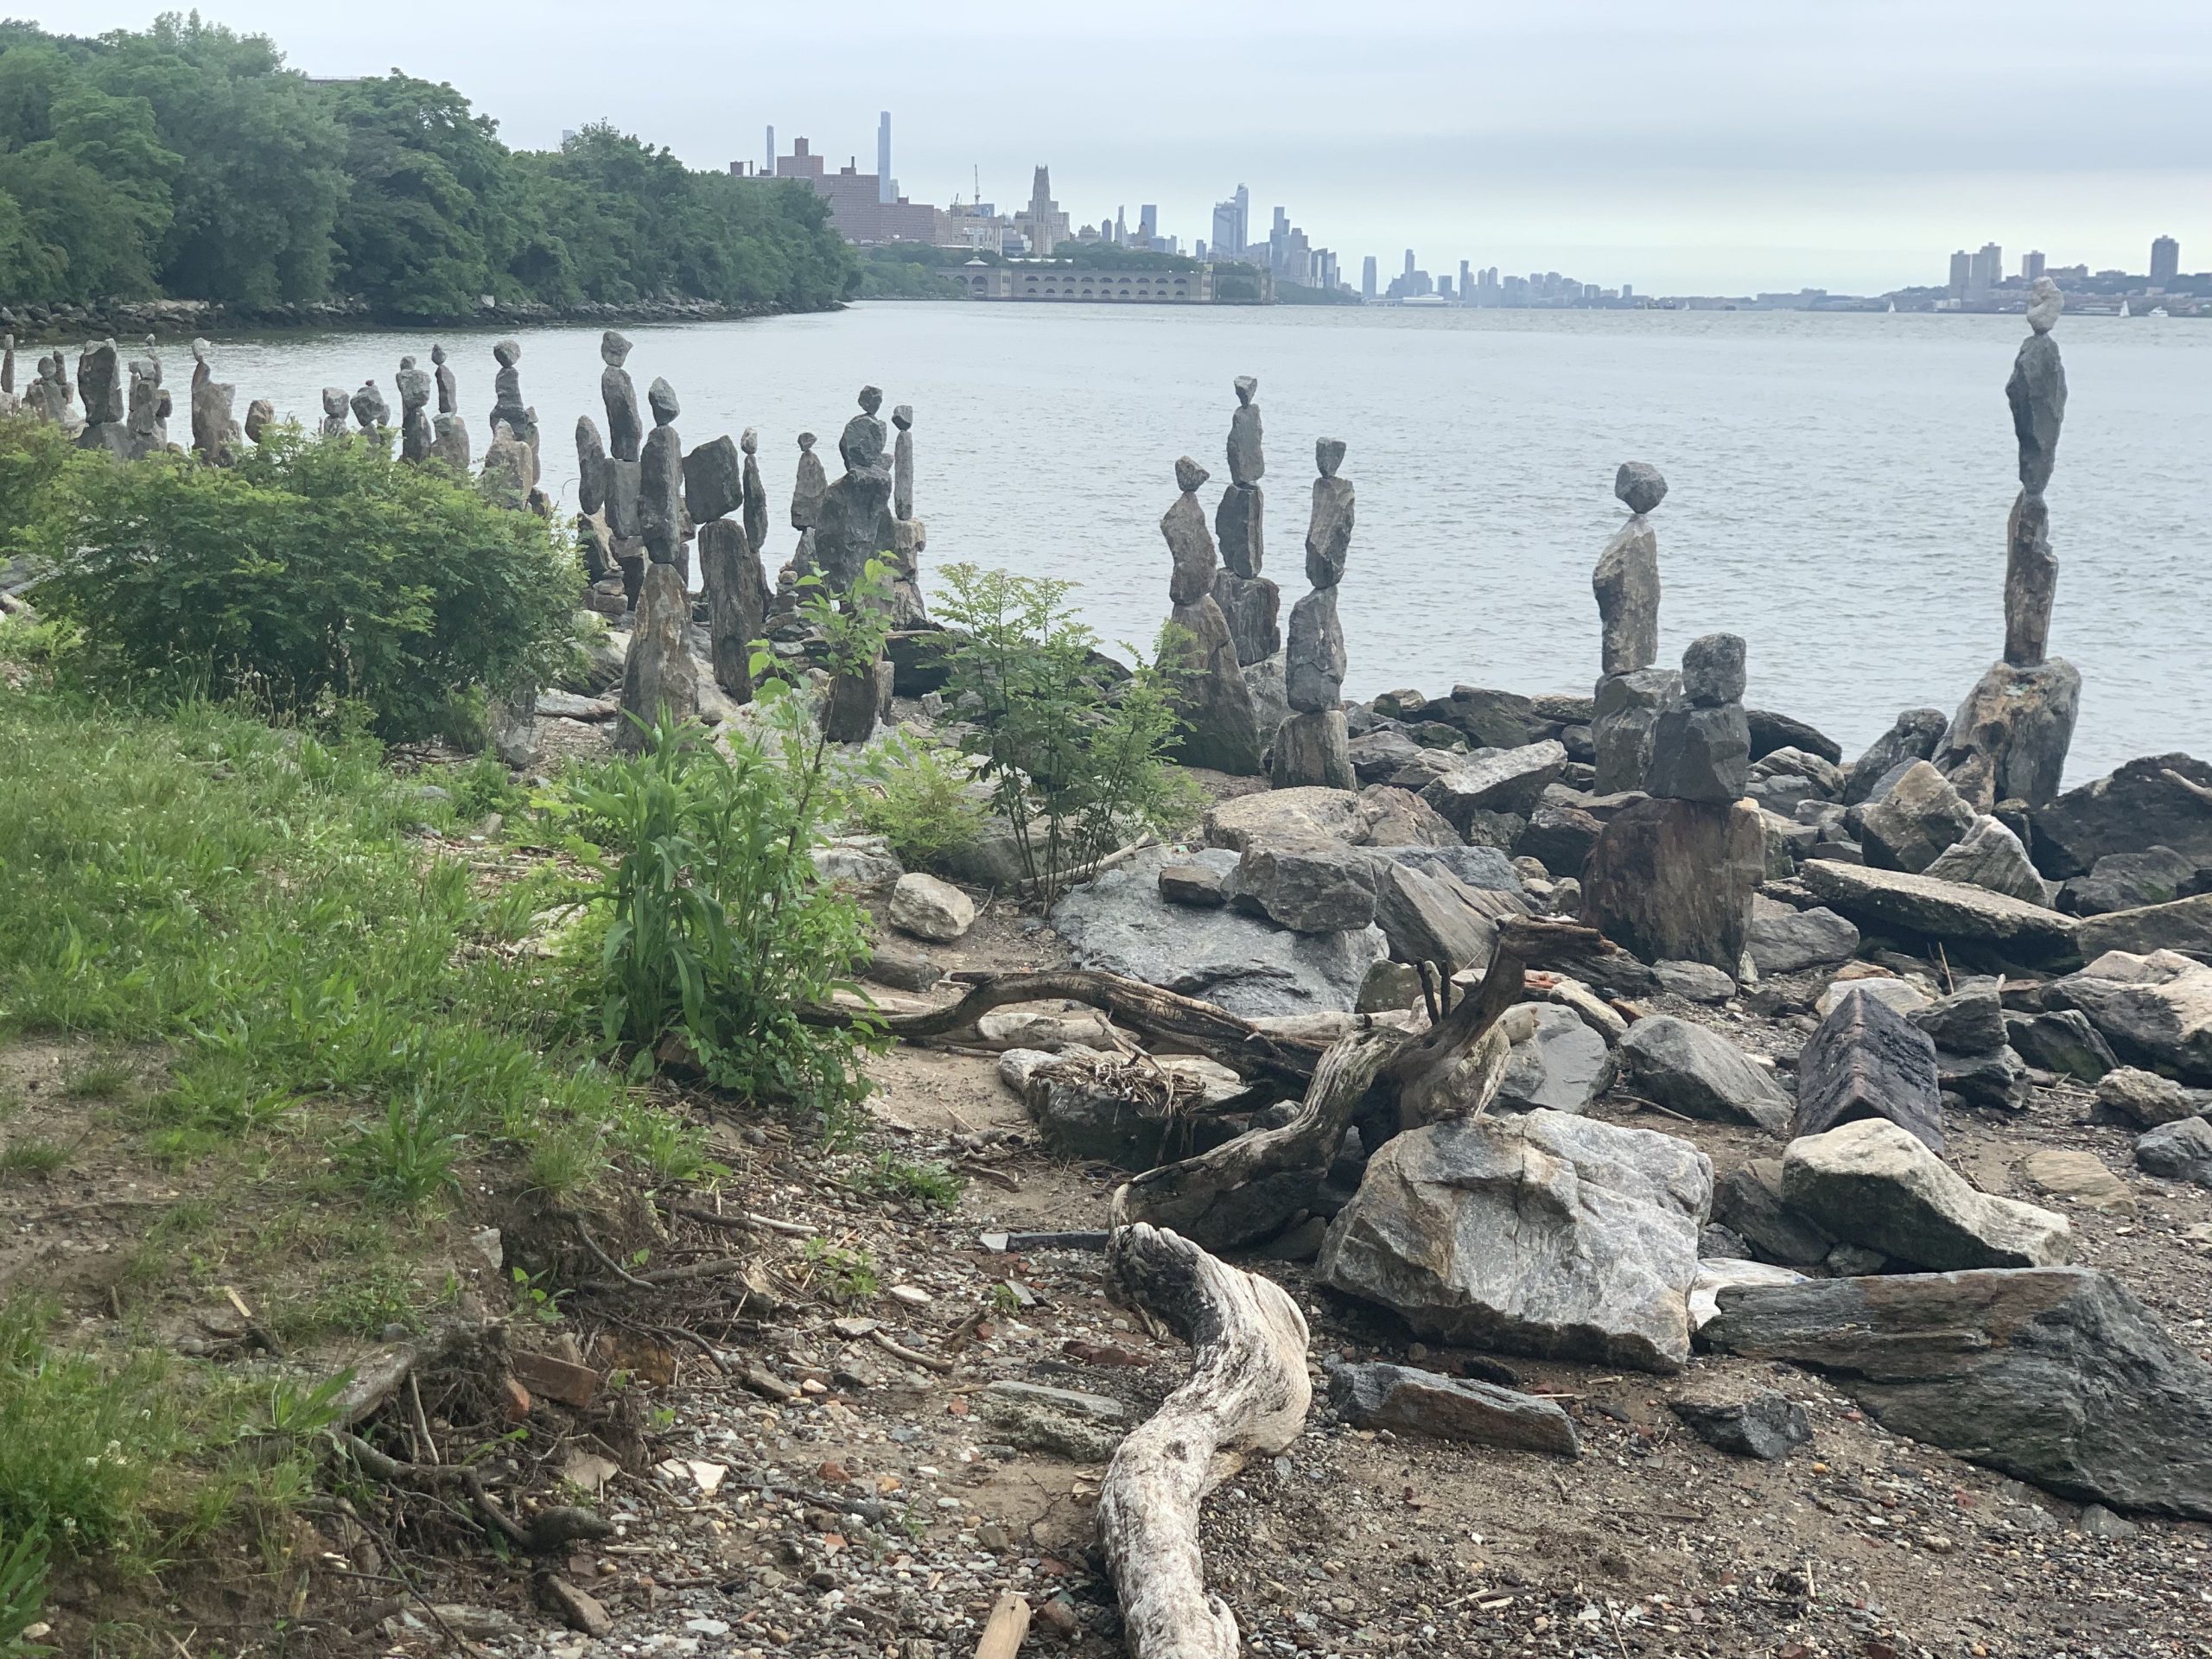
Alt-text is the description of an image used by screenreaders for people who are blind or have vision impairments. It’s good for accessibility to add a brief description of any images for that reason (“stones piled up single file, to make towers of varying heights, on the Hudson river” )

More advanced post options
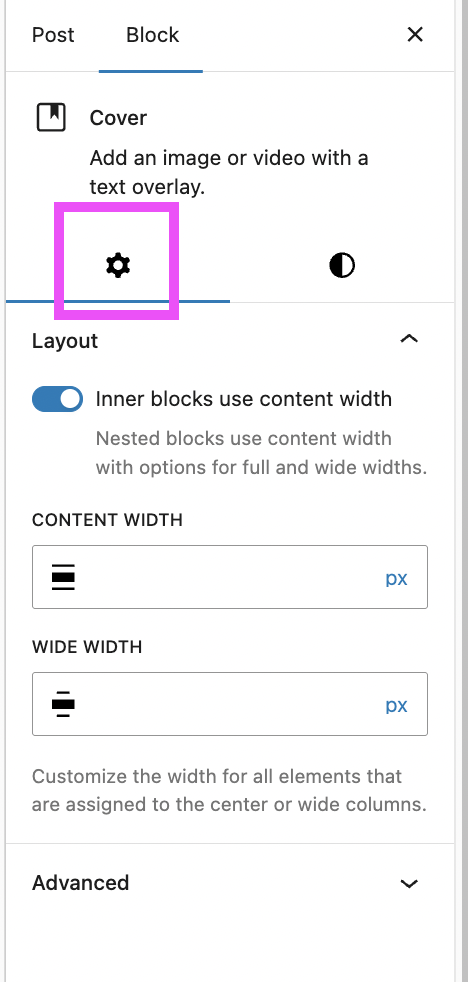
Within each block, you have options to further tailor how your post looks (size, borders, colors, etc).Under settings, you can choose to edit the block, rather than the post. Then, you can change either “Settings” and “Styles”
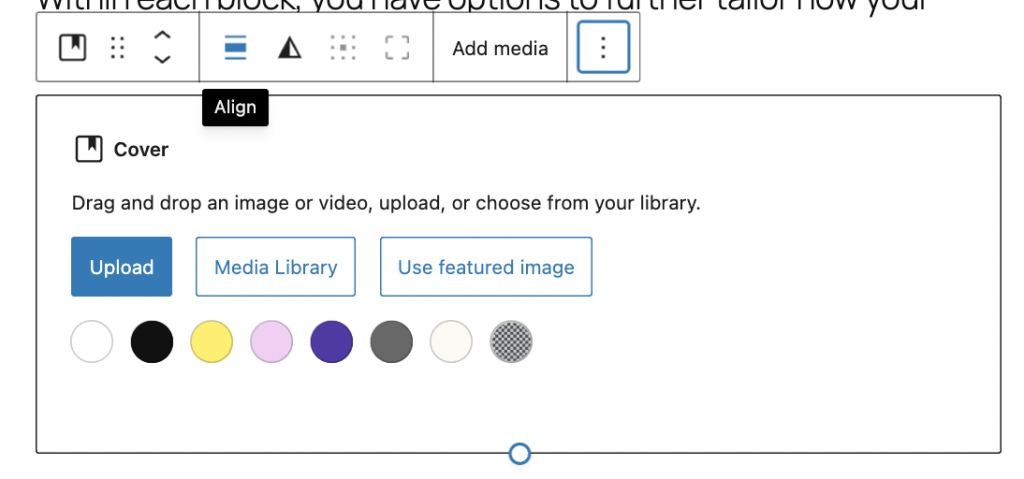
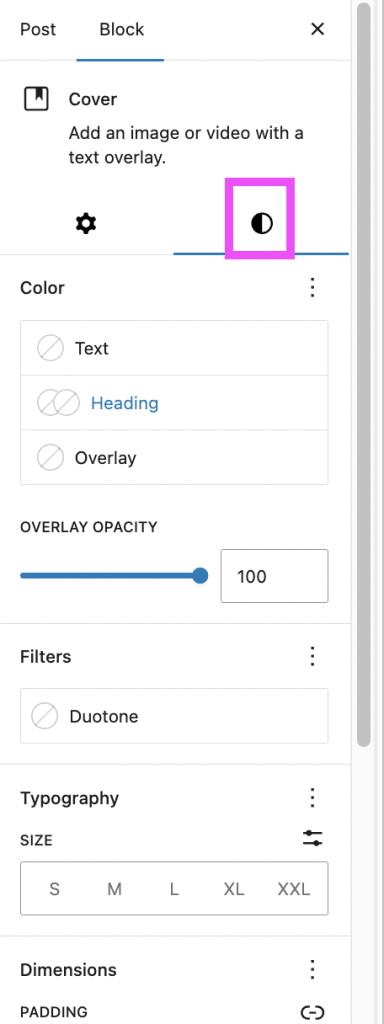
Below, I used the Cover block (image + text) and used the Duotone filter under the Styles tab to alter the image
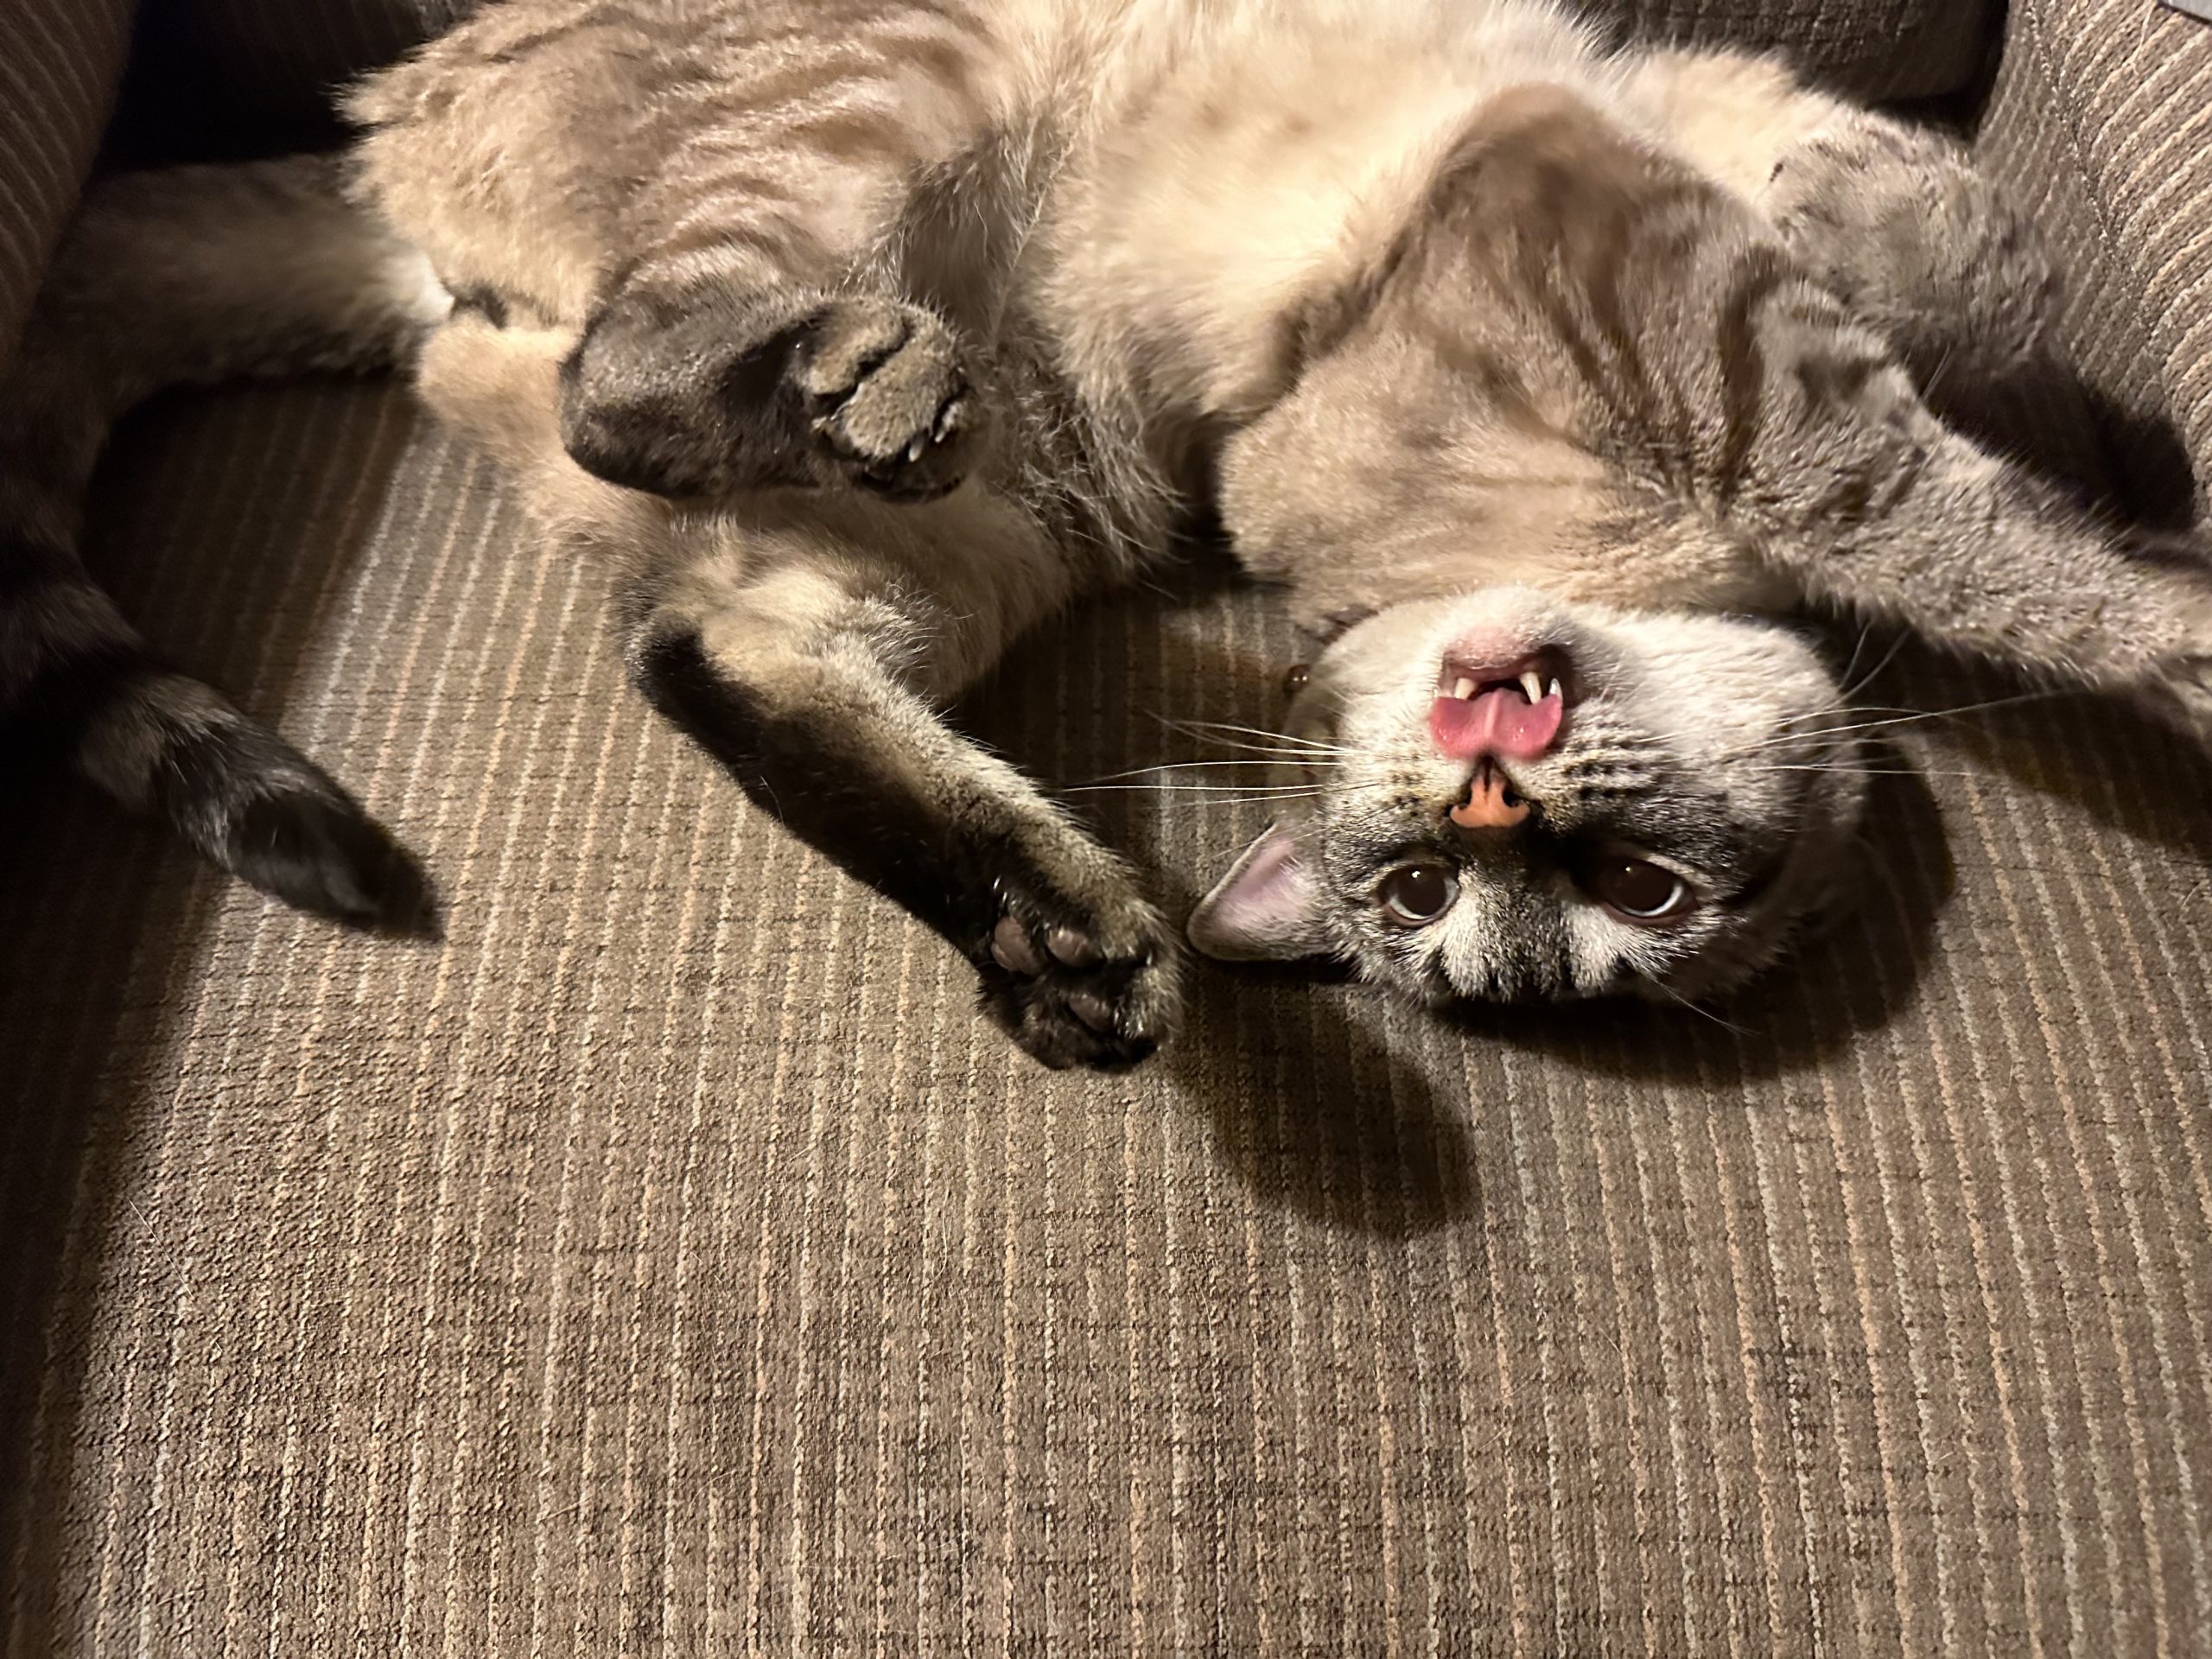
Cover block + Duotone effect