


OpenLab is an open source learning and digital content platform where you can post public-facing or Macaulay-community facing projects and create or participate in different sites/blogs. On OpenLab, you can participate in course websites for your seminars or hubs (like this one!) for Macaulay events, create projects for different classes and events, or even create your own personal portfolio for hosting all your personal work. It’s based on WordPress, which is a platform used by 43.4% of the web, and learning its use is practical for college but also for any other web-based projects or work you want to do. You can also make choices as the user on the privacy/openness of different materials you post.
OpenLab is supported by the Teaching and Learning Collaboratory, and if you have questions about how to use it, you can make an appointment with us or sign up for a workshop (link coming soon). Below are some start-up instructions for creating a post!
Create a post
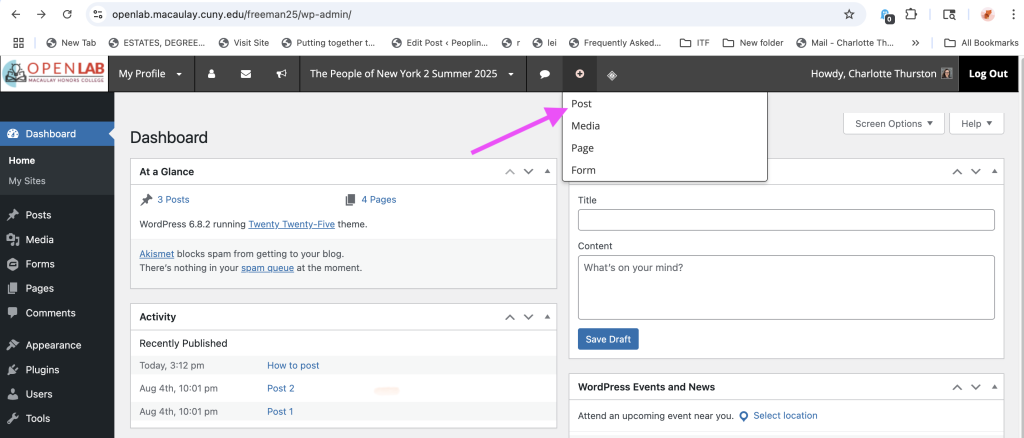
In the dashboard, from the menu at the top, click “+” and click “Post”
Write your post
In the “Add New Post” screen, you write the post you want to create. Enter the appropriate title and any text you want in the post. You can add images by clicking the plus sign in the top-left corner and selecting the “image” block. From here, you can upload images from your device. You can also embed media, create image galleries, etc, through the Block menu on the left. Feel free to explore! Just make sure to do the following:
Add a Featured Image
On the right hand side, under “Post,” select “Set Featured image” and upload/choose an image
Choose Your Category
Before publishing your post, make sure you choose the right category or categories for it. Look for the categories on the right hand side, under “Post.”
Add Alt-Text to Images
Alt-text is the description of an image used by screenreaders for people who are blind or have vision impairments. It’s good for accessibility to add a brief description of any images for that reason (“A grey striped Siamese cat is curled up on a duvet, tail in front of his body, paw over one eye, one blue eye staring at the camera”)
Click Publish!
When your post is ready, click publish! You can also Save as Draft as you go.
Be sure to have what you want to write and add saved elsewhere before uploading/copying it here

To the left, visual references for:
- How to put a post in a category
- How to upload a featured post
More advanced post options
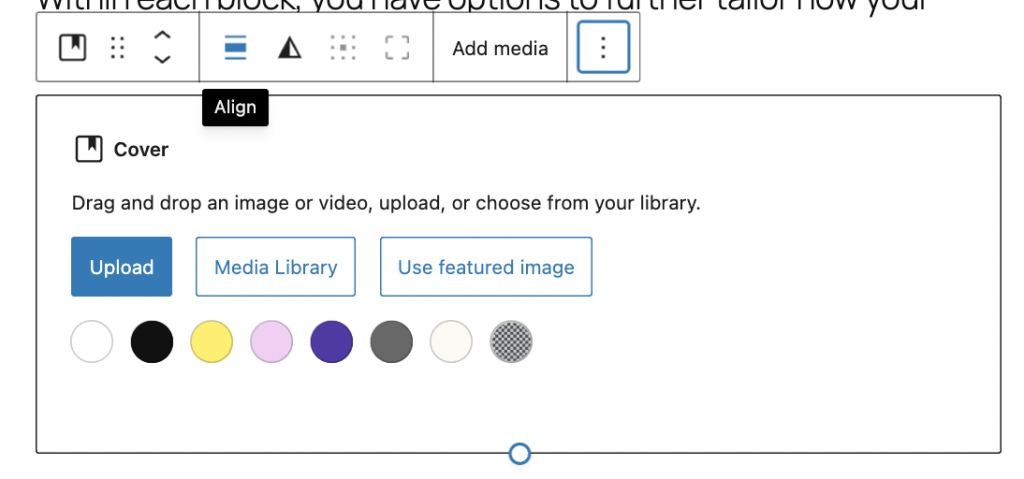
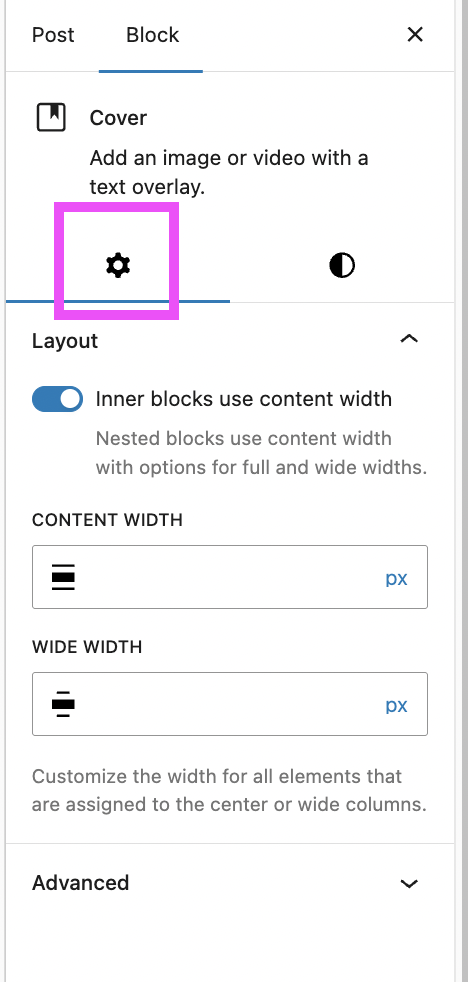
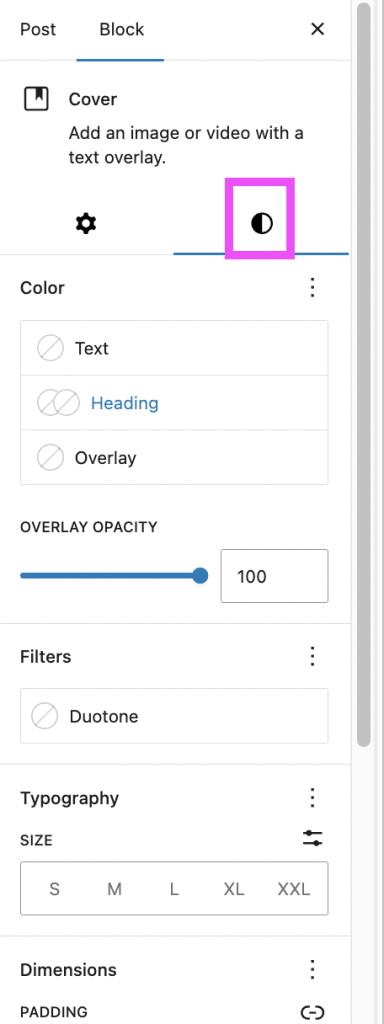
Within each block, you have options to further tailor how your post looks (size, borders, colors, etc).Under settings, you can choose to edit the block, rather than the post. Then, you can change either “Settings” and “Styles”
Sample Blocks
Covers
Below, I used the Cover block (image + text) and used the Duotone filter under the Styles tab to alter the image

Cover block + Duotone effect
Embedding Canvas Slides
To embed a Canva presentation, go to your Canva presentation and click the Share menu in the top right hand of the screen. Click the Embed option, and then copy-paste the Smart Link right into your post!

