Page designed and created by Charlotte Thurston, Macaulay TLC, and adapted for this site.
In order to share your reflections and reports, you must first be a member of this site, and in order to be a member of this site, you must have an eportfolio account.
Note that there’s a difference between joining OpenLab, the Macaulay-wide website-building platform, and joining a particular OpenLab course. You should only have one OpenLab login, which you’ll use to join and access individual eportfolios.
If you need help with any of these steps, please schedule a meeting with TLC support.
Joining Openlab
By this point, you may have an OpenLab account from a prior semester. If you simply forgot your password, just try to log in and follow the steps for having forgotten your password. But if you’ve never created an OpenLab account before, follow the steps below.
- Go here to create your OpenLab account.
- Return to this page and complete the steps for joining this Openlab site below.
Posting
- Log in to OpenLab
Go to Macaulay’s OpenLab page, click “Log In” at the top, and log in. This will take you to your Dashboard. - Select this Site
From your Dashboard, move your cursor to “My Sites” in the top-leftmost corner of the screen. Click on this site from the dropdown. - + New
Click “+ New” at the top of the page. This will take you to the “Add New Post” page. - Write Your Post
In the “Add New Post” screen, you write the post you want to create. Enter the appropriate title and any text you want in the post. You can add images as well by clicking the plus sign in the top-left corner and selecting the “image” block. From here, you can upload images from your device. - Choose Your Category
Before publishing your post, make sure you choose the right category or categories for it. - Publish!
When your post is ready, click “Publish.”
If you’ve already made posts, but forgot to categorize them, please go back and edit them to select the right category. This makes sure that they show up in the right place, and it ensures that you get credit for having done your assigned posting.
Discussion/Commenting
To participate in a discussion about a given post, click the post’s title, then scroll down on the post page to see the comments section. As long as you’re a signed-in member of this site, you can post a comment of your own and respond to others’ comments, too.
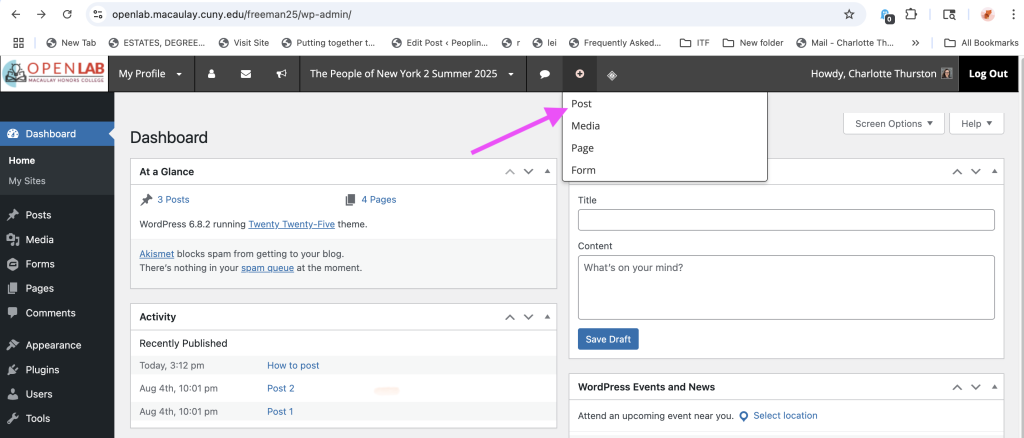
How to Post
In the dashboard, from the menu at the top, click “+” and click “Post”
Write Your Post
In the “Add New Post” screen, you write the post you want to create. Enter the appropriate title and any text you want in the post. You can add images by clicking the plus sign in the top-left corner and selecting the “image” block. From here, you can upload images from your device. You can also embed media, create image galleries, etc, through the Block menu on the left. Feel free to explore! Just make sure to do the following:
Add a Featured Image
On the right hand side, under “Post,” select “Set Featured image” and upload/choose an image
Choose Your Category
Before publishing your post, make sure you choose the right category or categories for it. Look for the categories on the right hand side, under “Post.”
Add Alt-Text to Images
Alt-text is the description of an image used by screenreaders for people who are blind or have vision impairments. It’s good for accessibility to add a brief description of any images for that reason (“A grey striped Siamese cat is curled up on a duvet, tail in front of his body, paw over one eye, one blue eye staring at the camera”)
Click Publish!
When your post is ready, click publish! You can also Save as Draft as you go.
Be sure to have what you want to write and add saved elsewhere before uploading/copying it here

Visual references for
- How to put a post in a category
- How to upload a featured post
More Advanced Post Options
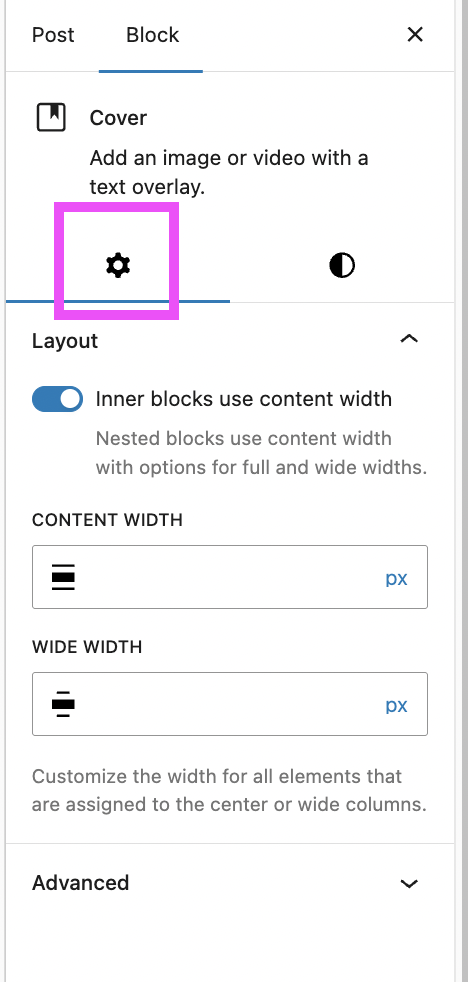
Within each block, you have options to further tailor how your post looks (size, borders, colors, etc).Under settings, you can choose to edit the block, rather than the post. Then, you can change either “Settings” and “Styles”
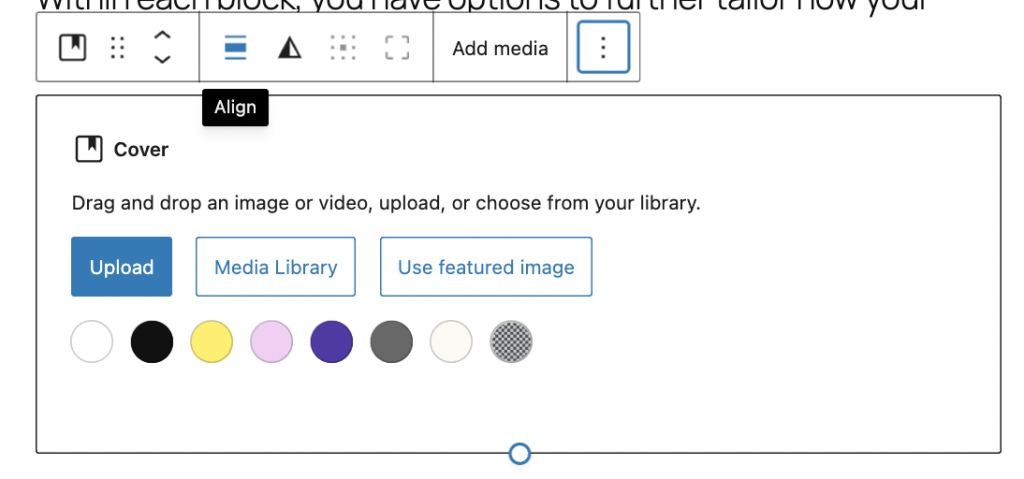
Sample Blocks
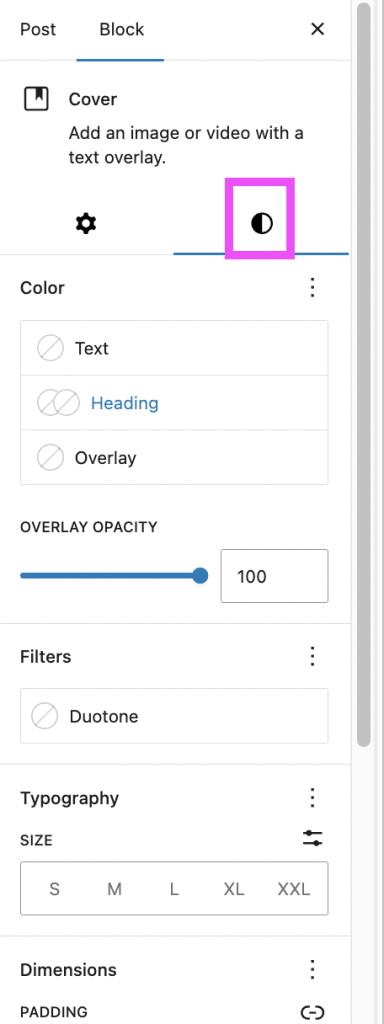
Below, I used the Cover block (image + text) and used the Duotone filter under the Styles tab to alter the image

Cover block + Duotone effect